Welcome to the Chamberlain LiftMaster Professional 1/3 HP Owners Manual, your comprehensive guide for setup, operation, and maintenance of your garage door opener. This manual provides detailed instructions to ensure safe and efficient use, covering installation, troubleshooting, and advanced features. Read carefully to optimize performance and extend the lifespan of your device.
Overview of the Manual’s Purpose and Content
This manual serves as a detailed guide for the Chamberlain LiftMaster Professional 1/3 HP garage door opener, providing essential information for installation, operation, and maintenance. It outlines safety precautions, step-by-step installation instructions, and troubleshooting tips to ensure optimal performance. Sections cover understanding the control panel, remote features, and advanced settings, as well as warranty details and replacement parts. The manual is designed to help users maximize efficiency and safety while extending the lifespan of their garage door opener. Regular reference to this guide is recommended for best results.

Safety Precautions and Warnings
Always consult the manual for essential safety measures to prevent accidents. Ensure proper installation and avoid unattended operation. Follow guidelines for emergency releases and periodic inspections. Do not install on one-piece doors with unattended close features. Keep children away and ensure the door is balanced. Contact professionals for spring adjustments. Regular maintenance is crucial for safe operation.
Emergency Release Mechanism
The emergency release mechanism allows manual operation during power failures. Locate the red handle or security key and pull it to disconnect the door from the opener. Always ensure the door is secure after disengaging. Test entrapment protection devices after reconnecting power. Follow the manual’s instructions carefully to avoid accidents. Regular inspections of the mechanism are crucial for reliable operation. Never attempt adjustments without proper guidance. Keep the emergency release accessible and educate household members on its use. This feature ensures safety and convenience in unforeseen situations. Always refer to the manual for detailed procedures.
Preventing Accidents and Ensuring Safe Operation
Ensure safety by following all precautions outlined in the manual. Periodically inspect springs, cables, and pulleys for wear. Never attempt to adjust or repair springs yourself; call a professional. Test the door’s balance by disconnecting the opener—it should stay in place without drifting. Keep the area clear of obstacles and ensure children understand the dangers of playing near the door. Always test the entrapment protection devices after installation or adjustments. Failure to follow these guidelines may result in serious injury or damage. Secure the manual near the door for quick reference.
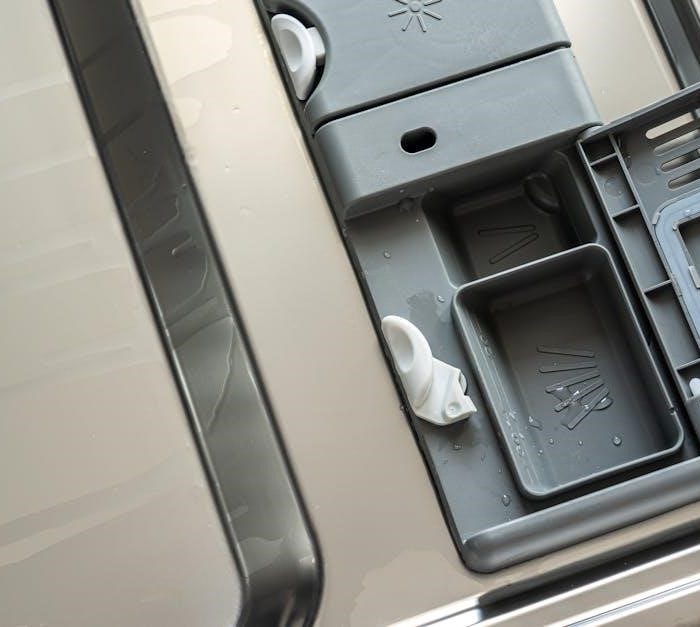
Installation Instructions
Follow the step-by-step guide for proper setup, starting with locating the header bracket and verifying hardware requirements. Ensure all components are securely fastened. After installation, test the entrapment protection device to confirm safe operation. Refer to the wiring diagram for electrical connections and follow all safety instructions carefully. Always consult a professional if unsure about any step.
Step-by-Step Guide for Proper Setup
Start by preparing all necessary tools and hardware. Locate the header bracket and ensure it is securely installed. Assemble the rail and attach it to the motor unit. Mount the motor to the header bracket, ensuring proper alignment. Connect the chain or belt to the door and opener, adjusting tension as needed. Install the control panel and sensors, ensuring they are level and aligned. Test the entrapment protection device by obstructing the door’s path during operation. Finally, secure the manual near the garage door for easy reference.
Locating the Header Bracket and Hardware Requirements
The header bracket must be securely mounted to a sturdy 2×4 pressure-treated lumber above the garage door opening. Ensure the bracket is centered and aligned with the door’s travel path. Required hardware includes lag bolts, washers, and a reinforced mounting strap. Verify all components are included in the kit and meet specifications. For one-piece doors, additional reinforcements may be necessary. If unsure, consult a professional installer to ensure proper installation and safety. Always follow manufacturer guidelines for hardware requirements.
Operating the Garage Door Opener
Operating the Chamberlain LiftMaster Professional 1/3 HP involves using the control panel, remote, or wall station. Features include programmable remote controls, smart technology integration, and safety sensors for smooth operation.

Understanding the Control Panel and Remote Features
The control panel and remote for the Chamberlain LiftMaster Professional 1/3 HP offer intuitive operation. The control panel includes buttons for lighting, force adjustment, and emergency release. The remote features a secure Bluetooth connection, ensuring reliable signal transmission. Programming the remote involves syncing it with the opener’s receiver, typically done by pressing the learn button and following on-screen instructions. Additional smart technology integration allows users to control the opener via smartphone apps, enhancing convenience and security. Always refer to the manual for specific pairing and operation guidelines to ensure proper functionality.

Maintenance and Troubleshooting
Regular inspections, lubrication, and checking for wear are essential. Address common issues promptly to avoid major repairs and ensure proper, smooth operation of the garage door opener.
Regular maintenance is crucial to ensure your LiftMaster opener operates smoothly. Lubricate moving parts annually and inspect the chain or belt for wear. Tighten loose screws and check the door balance. Clean the photo-eye sensors and test the safety reversal feature. Replace the battery in your remote every 3-5 years. Schedule professional servicing if you notice unusual noises or performance issues. Always refer to the manual for specific guidelines and safety precautions to maintain efficiency and longevity of your garage door system. Identify common issues by observing symptoms like uneven door movement or unusual noises. Check the photo-eye alignment and ensure sensors are clean. Test the safety reversal feature by placing an object under the door. If the opener doesn’t respond, verify remote batteries and signal strength. Inspect chains or belts for wear and tighten loose hardware. For persistent problems, consult the diagnostic chart in the manual. Addressing these issues promptly ensures reliable performance and prevents further complications. Contact a professional if troubleshooting steps don’t resolve the issue. Identify genuine LiftMaster parts and accessories for your Chamberlain LiftMaster Professional 1/3 HP model. Use the Parts Finder tool to locate compatible components, ensuring authenticity and optimal performance. Order replacement remotes, gears, or hardware directly from authorized dealers to maintain warranty validity and reliability. Always verify compatibility before purchasing to ensure proper fitment and functionality. To ensure compatibility and maintain your garage door opener’s performance, always use genuine LiftMaster parts. Locate your model number in the manual or on the product to find precise replacements. Use the Parts Finder tool on the official website or consult authorized dealers for assistance. Verify part numbers and descriptions before ordering to guarantee proper fitment; Genuine parts are designed to meet safety standards and maintain warranty validity. Avoid third-party components to preserve reliability and functionality. Order securely through authorized channels to ensure authenticity and optimal performance of your Chamberlain LiftMaster Professional 1/3 HP opener. The Chamberlain LiftMaster Professional 1/3 HP is backed by a one-year limited warranty. This warranty covers defects in materials and workmanship for the motor and parts. For detailed terms and conditions, refer to the manual or contact an authorized dealer. The LiftMaster Limited Warranty ensures your Chamberlain LiftMaster Professional 1/3 HP garage door opener is protected against defects in materials and workmanship. The warranty covers the motor for one year and parts for one year from the date of purchase. This warranty applies only to the original retail purchaser and is non-transferable. For warranty claims, contact an authorized LiftMaster dealer. Damages due to misuse, improper installation, or normal wear and tear are not covered. Refer to the manual for full warranty terms and conditions. The Chamberlain LiftMaster Professional 1/3 HP features smart technology integration, enabling remote monitoring and control via MyQ. Program customizable settings and enhance security with advanced access controls. Program your LiftMaster remote controls by syncing them with the opener using the learn button. Pair up to eight remotes for shared access. Integrate with MyQ, enabling smartphone control via the app. Set custom notifications and schedules, ensuring your garage door operates seamlessly with your smart home system. Always refer to the manual for specific pairing codes and troubleshooting tips to ensure secure and efficient setup. For professional installation and support, contact a certified LiftMaster technician. They possess the necessary expertise and tools to ensure proper setup and safe operation of your garage door opener. Contact a certified LiftMaster technician for complex installations, repairs, or maintenance. They handle spring adjustments, motor issues, and advanced diagnostics, ensuring safety and optimal performance. For troubleshooting beyond basic fixes or if unsure about any procedure, professional assistance is recommended to avoid potential risks and ensure compliance with warranty terms.Regular Maintenance Tasks for Optimal Performance
Troubleshooting Common Issues and Diagnostic Procedures

Replacement Parts and Accessories
Identifying and Ordering Genuine LiftMaster Parts

Warranty Information
LiftMaster Limited Warranty Details
Advanced Features and Settings
Programming Remote Controls and Smart Technology Integration

Professional Installation and Support
When to Contact a Certified LiftMaster Technician